Wednesday, March 30, 2011

Organization Obsession


Organization Obsession!!! 

In case I haven’t mentioned it before, we are having a baby in May!!  I am so excited, and also seriously nesting.  At first, our plan was to try and add on a room, but because the price kept going up and up to the point it didn’t make sense for the price point in our neighborhood, we have a new plan:  Musical Rooms!

1.)    Move the rest of the daybed upstairs to be part of Serenity’s big girl bed.
2.)    Move the tan couch from the green living room to the front living room to make room for…
3.)    Moving the office from the blue bedroom to the green living room!
4.)    This allows the blue bedroom to go back to the Master Bedroom (It feels a little bit strange to be in the big room. =) 
5.)    The purple room we were sleeping in will be Serenity’s Room, and finally:
6.)    The baby gets Serenity’s room because it already matches my nursery stuff. =) 

Whew.  So far I’m loving the moves, I’ll post some of the individual room changes soon!  I've already sorted through most of the closets, taken a huge trip to Goodwill, and now it's time to decorate!

Friday, March 25, 2011

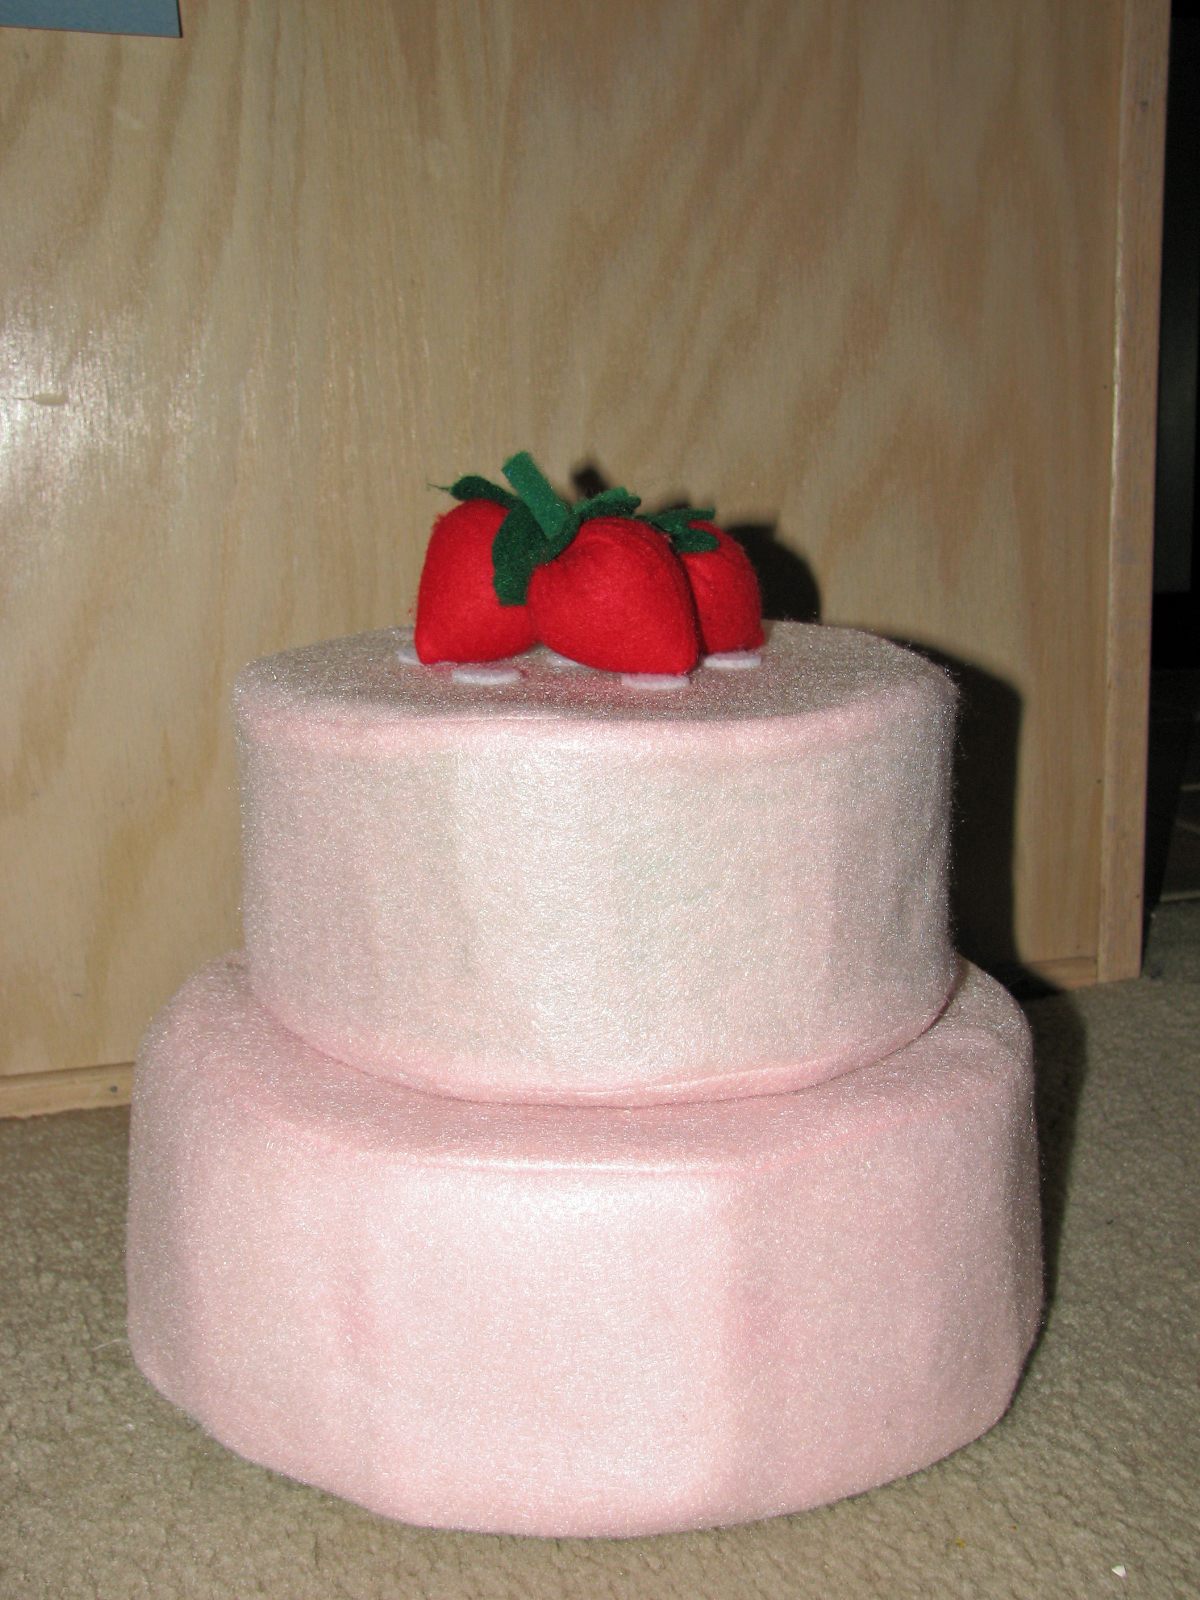
Felt Cake!

Felt Cake

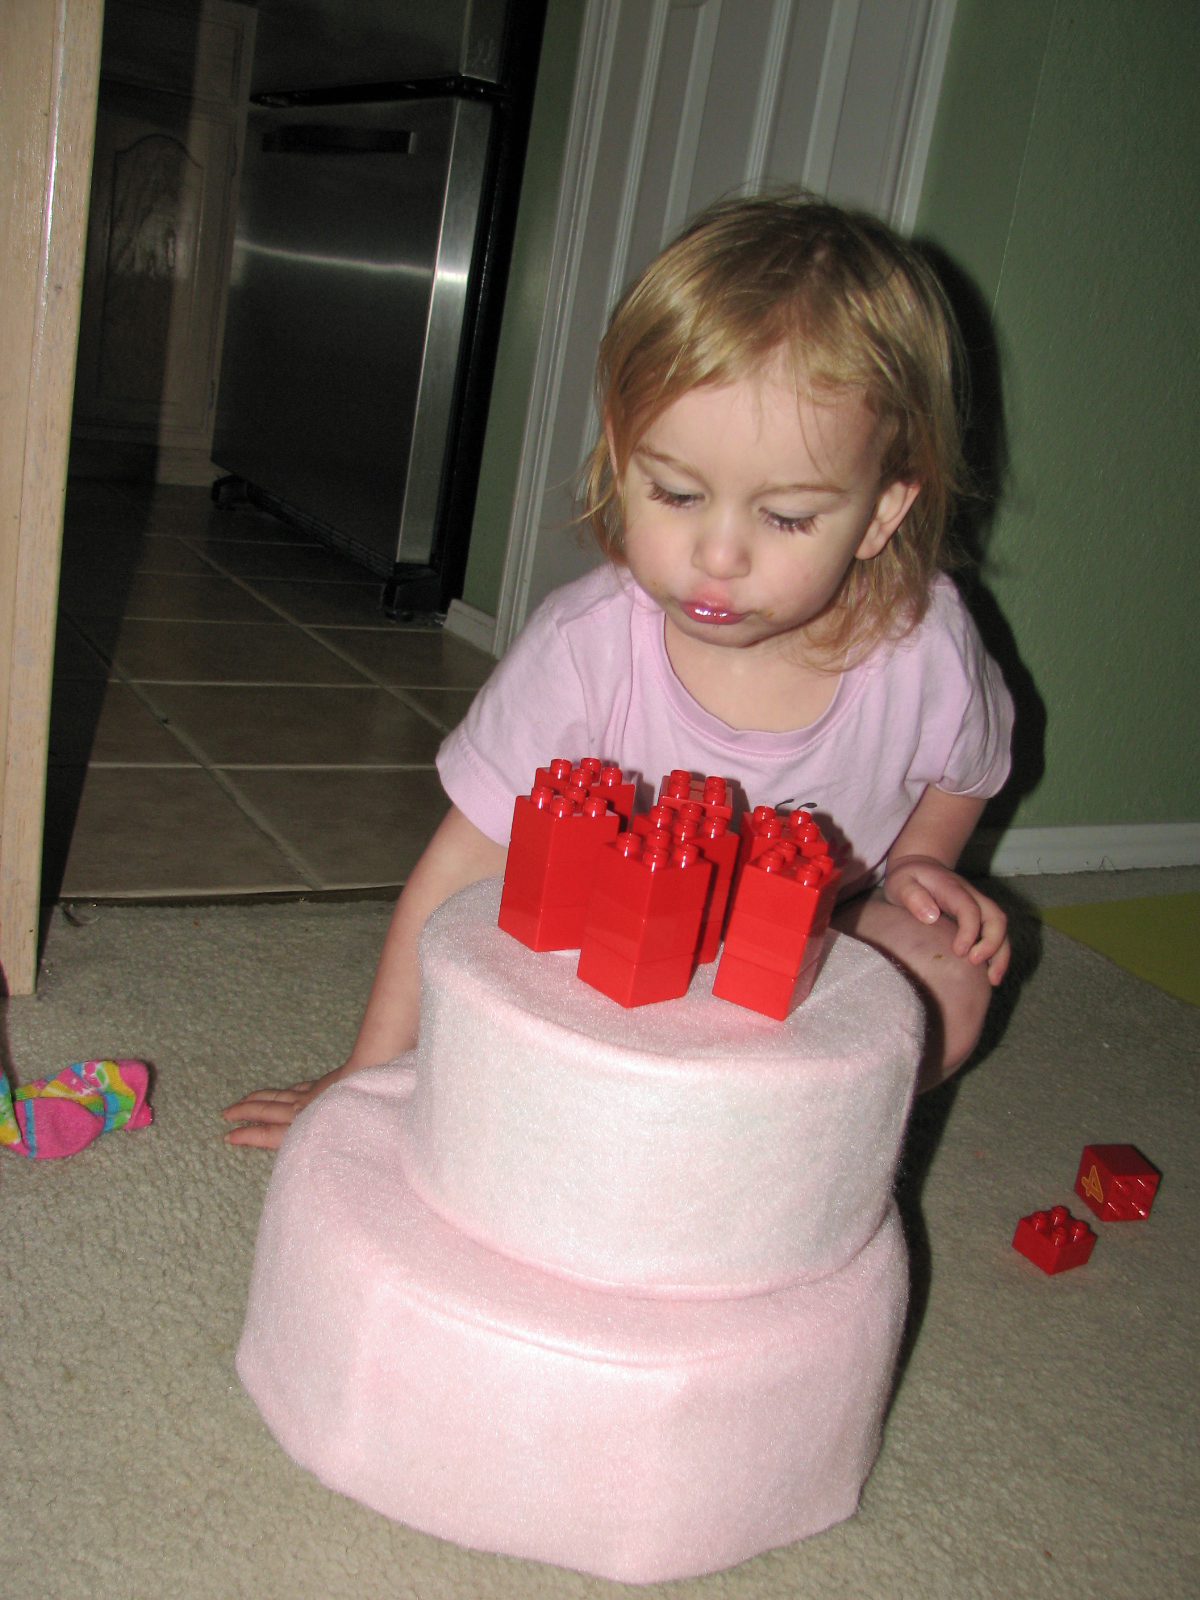
Well, this project was one of the major ones on my list!  I bought supplies for this around six MONTHS ago!  Talk about procrastinating.  I think the idea of cutting into the foam just made me scared.  It was not nearly as difficult as I feared.  Just like Lier at ikatbag.com (where I found the pattern) said, it was easy but time-consuming.  So basically, the first night all I did was cut out the foam.  And then I got lazy AGAIN!  So the next morning my daughter finds the foam wedges and circles and LOVES them.  She makes them into beautiful cakes using her scarves, and sand castles, and mountains.  And I’m thinking, “hmmm, do I really need to do anything else?”  So I waited a bit for the fascination to die down and then I finally got around to actually sewing the casings for them. 


And she loves it even more!  Her reaction was priceless.  All I finished was one wedge of the cake, and she said, “Thank you for my cake Mama!  Thank you thank you than you, I loooove my cake.”  She’s getting very dramatic, it’s fun =) 

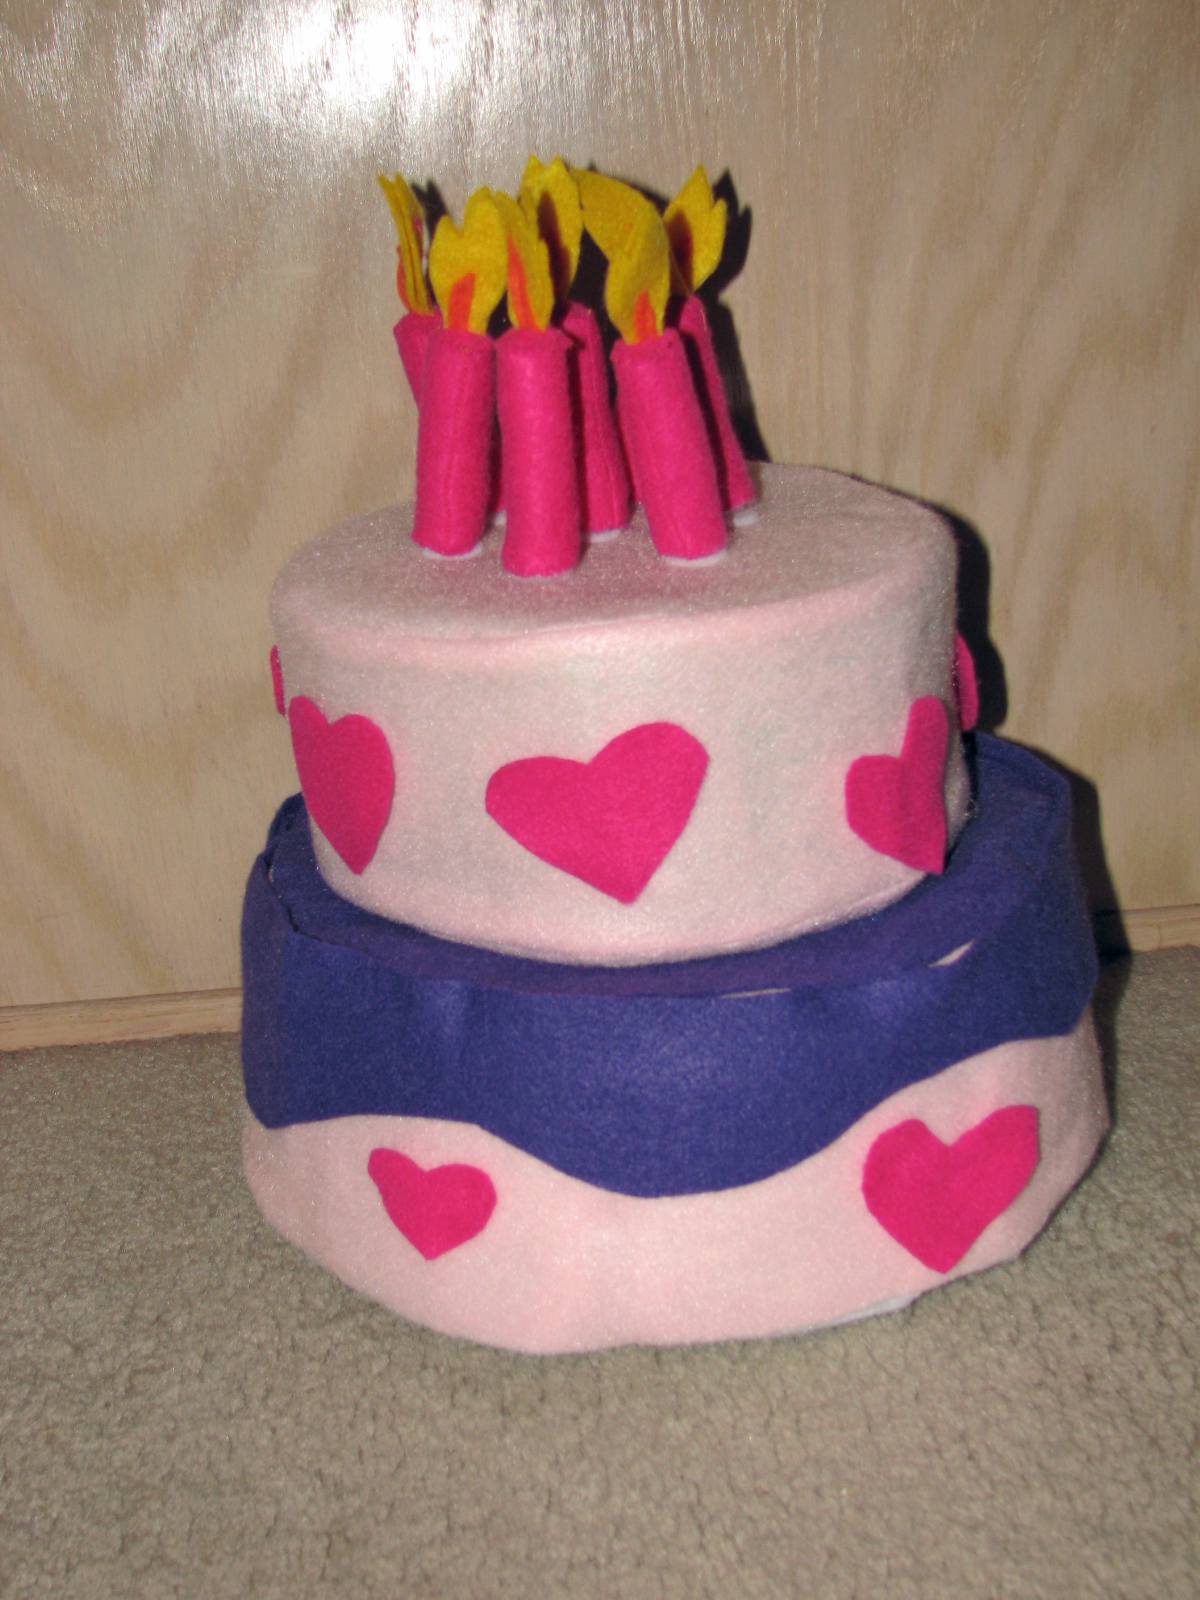
So I made two layers, one with wedges so she can serve cake to her guests, and one just solid.  My foam was four inches instead of the three recommended, because I just grabbed what looked good at Jo-ann’s when I saw it on sale. 

I didn’t make two layers that had slices like she did, mostly because I know I’ll spend a lot of time putting it back together.  If I did make another layer, I would do it like this one so I had a place to put all the little felt pieces.  Serenity loved decorating with the felt hearts especially. =)  When I showed her the completed layers, she wanted candles immediately so we had to build some out of legos. =)  I sewed the actual candles last night, and so I now declare this project complete.  Checkmark for me!  Woo hoo!

Thursday, March 17, 2011

Baylor Tutu


Braley’s Baylor tutu =) 

I have a new niece!  I get to go see her soon, and I’m taking her a special Baylor outfit that her Daddy requested.  Evidently sports paraphernalia is expensive.  So I embellished a little onesie I got for four dollars at old navy with a B (for Baylor and Braley) and did a little running stitch with perl cotton. I used the light steam-a-seam and just followed their instructions, using plain old Times New Roman.

For the tutu, I lucked out at Jo-Ann’s and found a dark green and yellow organza already cut on a roll.  I like it because it’s not as scratchy as tulle can be, and it was in the right colors.  It took two full rolls.  I made it just like I did the Ballerina Basket I made Serenity for Halloween, except I used actual elastic.  It’s probably a little long, but since I didn’t have a nine month old to test it on (that’s how old she’ll be at football season =)  I decided he could cut it down if he wanted then.  And I just tied the elastic in the back so the waist can be adjusted too!  Easy peasy! 


Tuesday, March 15, 2011

Lemons!


Lemon Tree!
One more addition to Serenity’s felt tree for now… lemons!  I had some leftover yellow fleece from Serenity’s Care Bear costume, so I made some lemons.  I made a little pattern myself… and it took a few tries before I thought they were very lemony.  The first one was too small and ball-like… I think because I cut four pieces of my pattern that was shaped more like half a lemon. =) 

The second was too big and still kind of round like…

And finally, I ended up with this shape, which was my favorite.  Although I know in real life lemons come in all kind of crazy shapes.  Here’s a pic of the pattern, I used four pieces.  It’s about 6 inches long, three high.  The stem is sewn from the fuzzy side of the velcro, just like the pickable strawberries and green beans.   


I sewed little squares of Velcro to the tree, so they are pickable!  There are six lemons, but Serenity picks them almost as soon as I put them on the tree so the picture here just has four =)  We’re having such fun!

To see the whole tree tutorial, go here.  
Tutorial for the leaves here.

Sunday, March 13, 2011

Felt Tree Part Two!


Spring in Serenity’s Garden!
Well, my peach tree started sprouting leaves, so I got busy making leaves for Serenity’s felt tree as well. =)  I attached them with snaps so that we can take them off, exchange them for flowers or fall leaves. 


I cut simple shapes out of a few shades of green felt.  Part of the point of the project is to use up some of my stash so I used what I had =)  Then I pinched each leaf to give them some dimension and stitched them together in groups of five.  Then I sewed snaps on the tree!  Easy as that, we get spring =) I used about 70 leaves.  It could maybe use more but Serenity ran off with it, so I guess it works for her. =)   


To see the instructions for the tree itself, check out Felt Tree Part One!

Saturday, March 12, 2011

Felt Tree!


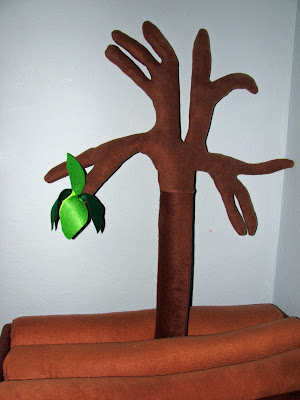
Here is the newest addition to our felt garden… A tree!  At the moment it is a winter tree, as it has no flowers or leaves or fruit yet. =)  At least that’s how I explained it to Serenity, who immediately wanted to decorate the tree.  She ended up using her jewelry. =)  And carrying it around the house, so I’d say it was a big hit! 

It was pretty simple if a little time consuming to make.  First, I drew a simple tree shape.  I pinned the pattern to my fleece and sewed around it.  I just made the top part of the tree to start with, in the hopes of making it easier to stuff.  After that was sewn, I stuffed each branch with those gigantic pipe cleaners, so that I could shape the tree a little bit, and filled it with stuffing.  (Fold over the ends of the pipe cleaners so no sharp points can poke you!)  After I did that, I could tell that it was still going to be a bit too floppy, so I slid some bamboo poles into the two branches that I wanted to remain the most upright.

The trunk part is stuffed with a pool noodle from the dollar store.  One of the little poles that goes up into the tall branches is in the middle of the noodle, so the whole thing stands fairly tall.  I also added a roll of pennies to the bottom of the inside of the pool noodle to give it a little weight.  It’s nearly as tall as my daughter, about 36 inches.  The trunk is 20, the branch section is 16.  It took 2/3 of a yard of fleece fabric (folded in half) for the top, and the trunk is about four inches wide.  I

For now we just plant it in our felt garden, which holds it upright fairly well.  I may need to build a stand so we can move it around more easily, it definitely doesn’t stand all by itself. 

Next job is cutting out about a hundred leaves, and maybe making some blossoms. =)  Hand sewing all the way, not my fastest skill. 

Thursday, March 10, 2011

Serenity's Garden

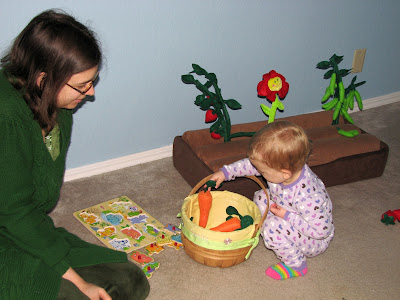
We are finally getting into Spring mood here!  Spending a lot more time in the yard, and my baby is LOVING the garden so far, even though the only thing growing right now is the henbit.  So I thought I'd write a little about one of our favorite toys, her felt garden. 

Two Christmases ago, I made this felt garden for Serenity (and since I'm fairly insane, I made eight more sets for friends and family =)  The pattern is from Lier at ikatbag.com.  (If you haven't gone there, it's completely amazing and so much fun!  Here's the link to her original patterns that I used.)


The flowers are from the dollar section at Target, but the fruits and veggies are also patterns from Lier.  I made her a bunch of carrots, strawberries, and green beans.  I can honestly say that this is one of the best toys in the house, and one of the few that has stayed out constantly since we got it.  She loves to pick them, she brings them to me, we pretend to eat them, she feeds them as snacks to her rocking horse.  So much fun and imagination!  And anything that involves telling Mama that carrots are DELICIOUS has to be good for us =)  

Since she still loves it so much, this Christmas I made some quick and easy broccoli to add to it, because broccoli is her favorite veggie to eat.     I've been wanting to do more, but most of her favorite foods don't grow on plants, they grow on trees...  Stay tuned for more garden fun!!!!


Friday, March 4, 2011

No-Slip Tablecloths

The goal here was to make simple tablecloths to dress up our card tables that wouldn’t slip or get pulled off by the massive number of people that we usually have at our get-togethers.  So I decided to just make a topper the same size as my tables (33 inches square) and sew ribbons into the corners to tie them down to the tables!  I love how they turned out!  The fabric we chose was so pretty I just went with a solid square for each side, but they would be cute quilted or appliquéd or anything!


The process was simple… except for the fact that my Mom chose striped fabric.  I think she did it as a lesson to me.  Making the stripes straight was a challenge and meant I ended up with a half inch seam instead of a full inch, which is what I did on my prototype.  Half an inch is plenty though.  So that means I cut two squares to 34 inches and rounded the corners slightly. 

Then I pinned them right sides together with the ribbons tucked in the middle about an inch and a half from the corner. 

Then I just stitched, turned, and ladder stitched the opening shut.  A little ironing and I was done!  I think they’re cute and Mom likes them so mission accomplished =) Oh, and they're reversible.


Tuesday, March 1, 2011

Bird Wings

Well, in my continued efforts to empty the half finished projects from my craft closet, I made Serenity a set of bird wings!  She went through a phase where she’d run through the house flapping her arms and saying, “I’m a bird, I’m a bird!”  So I thought this would be a good addition to our dress-up collection.


I made them very simple.  I just cut out a basic bird wing and tail shape from fleece, and then cut out a lot of feathers from craft felt.  I went with rainbow for the coloring =)  It took about ten 8.5 by 11 sheets of felt, I got nine or so feathers from each sheet. 


I sewed the feathers on in rows starting at the bottom, just a simple straight stitch across the top of each feather, leaving the bottoms to flap.  After I got all the feathers on, I went back and put a little dot of tacky glue in under the center of each, just to hold them in place a little more.  I want them to flutter but still hold the basic wing shape. 

The last step was adding loops of elastic to the wrist and a longer loop (made from a 32 inch piece of elastic) to make backpack-style loops in the center of the wings.  (I made butterfly wings with rainbow fabric this way, I saw it at This Mama Sews Stuff)  I trimmed the top where the feathers didn’t quite cover the fleece so the top curves a bit more than in the original picture.  I may go back and add ribbon or binding to finish the top a bit more, or I may just leave it as is.  Should be fun!  Today Serenity was doing a little dance that went “wiggle, wiggle, flap!” So hopefully she’ll enjoy adding real wings to her flapping. =)  

**They are just a little bit big, which will probably be good for her to get to use them for a while.  I could make them a bit smaller by moving the wristlets, and I may do that.  If I can get her out of them.  

Dora Pillow

Well, after organizing my office closet like crazy and getting rid of a lot of extra stuff, I have a nice list of projects that need to get finished, preferably before my baby boy arrives in May!  I already showed off one long project, recovering the chair, so I’ll just share a quick glimpse of an easy one that I did Sunday.  A Dora pillow for Serenity’s new pink and purple room.  This was by far the best pillowcase I’ve ever made.  Normally I just kind of sewed it, leaving raw edges and other craziness on the inside!  Well, I decided to look at some real pillow patterns this time, and discovered the wonder of a French Seam!  I won’t try to describe it, because it is perfectly detailed here at Lazy Girl Designs.  I just love the name of her blog,  I would fit right in there. =)  Well, Serenity could hardly wait for me to finish sewing it before she wanted to run off with it, so here it is, actually in use =)  It matches her monkey blankie nicely!